And here is a sort of grainy shot of the Kandinsky from the Smartboard. Sorry for the quality of my picture:(
We talked about how many circles we saw, how many lines, size and colors of circles, directions of lines, etc.
Then the fun began. I had prepared part of the large circle with a crayon line for kids to cut to finish it up. I wanted them to practice cutting, but, from experience, I knew doing the whole drawing and cutting on the fold thing might be too much for the time we had allotted. They glued their circle on their boards (9" X 12" illustration board - but paper would be fine, too).
 |
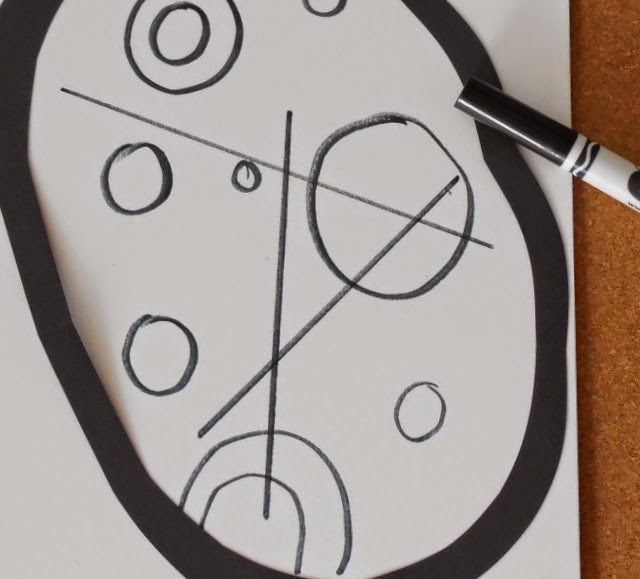
| I know, this isn't a circle. It was my first sample and it's an oval -- that works, too!! |
To decide how many circles to draw inside, we rolled dice at each work table (and drew that many with washable markers - I like Crayola brand markers for this) -- some large, some small, some within other circles - all drawn freehand. I heard LOTS of counting and comparing going on during this part of the lesson!! Using primary colored crayons, kids colored a few circles. Then they drew some straight lines - also with washable marker.
Finally, out came the paint brushes and students gently painted plain water over their marker lines to blur them and get a "painterly" look.
So, what skills did these little ones practice: cutting, gluing (a dot is a lot), drawing (shape, line), color choice and placement (balance, repetition), using a straight edge, use of a paintbrush (we still have a ways to go before we get that all right!!).


I love this!!! :) They look awesome!
ReplyDeleteThanks! They were fun to do:))
DeleteOH MY GOODNESS!!! These are wonderful. Pinning and doing this EARLY next year!
ReplyDeleteThanks. Early in the year would be good -- when you are trying to teach K's about how to use a brush. I like the way it looks like paint but really isn't:))
ReplyDelete