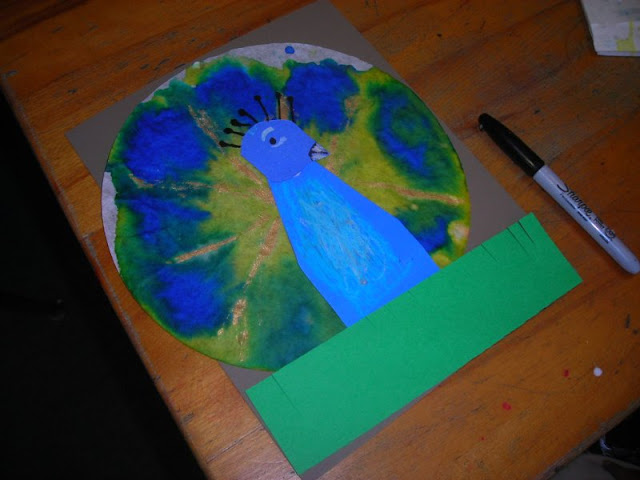
All classes started by viewing photos of peacocks on the Smartboard and discussing the colors and details of the feathers, head and body. Then we watched this great YouTube clip of a peacock fanning its tail. I got that from Natalie at smART Class blog (here). She has a cool lesson for doing collage peacocks, too!! The next step was to use liquid watercolors (yellow and blue) to create the tail. Some classes started by painting the blue dots first and painting yellow around them. A couple of classes (where I had less time) painted the whole filter yellow and then dropped in the blue.
The last step for that day was to use the side of a piece of illustration board to "print" gold lines for the quills of the feathers. Kids had used this technique recently for another project, so they knew just what to do.
On another day, students used blue construction paper for bodies and heads. They colored the feathers with light blue and white oil pastels to get the shaded effect and then glued them together. The eyes and top feathers were made with thin Sharpie markers. We even got a little "cutting practice" in by cutting the green grass strip. (If I had had more time I would have had the kids pre-paint the paper for the grass to give it more depth and interest -- NEXT TIME!!)
 |
| Did you know that a "flock" of peacocks is also known as an "ostentation?" Isn't that a great name for peacocks showing off their tails?!!! |


