Wednesday, May 25, 2011

Kindergarten Wildflowers

I first saw a version of this lesson on Kids Artists back in February. See here. Jaquelien did the lesson with 1st, 2nd and 3rd graders, I decided to give it a try with Kinders in their last session with me this year. We celebrated the wonderful wildflowers we see on hillsides outside of the city this time of year.

First, we used construction paper crayons and colored pencils to make stems on black cardstock (5 1/2" X 8"). Children were asked to start at the BOTTOM of their paper (where a plant would actually start growing) and make stems of varying lengths and thicknesses. I also encouraged them to overlap stems and give them different directions to create the impression of movement.
Next, having viewed slides of wildflowers and noticing how they look sort of like blobs of color when seen from a distance, students used Q-tips to apply different colors of paint. Children had noticed how some flowers on the hillsides are clumped with like colors together, and on other hills the colors were pretty random. Their art reflected these different approaches. I only had 2 colors of paint at a table at one time, and then changed the colors, to encourage more thoughtful placement of "flower" colors.


The classroom teacher and I were both pleased with the balance of color that children achieved. As a side note, using Q-tips instead of brushes made for VERY easy clean-up. We even had time for a story after we put the paintings on the drying racks -- and that hardly ever happens!!


Thursday, May 19, 2011

Wet-on-Wet Watercolors - Kindergarten

Kindergarteners worked with wet-on-wet watercolors this week to create their Alphabet Watercolors.


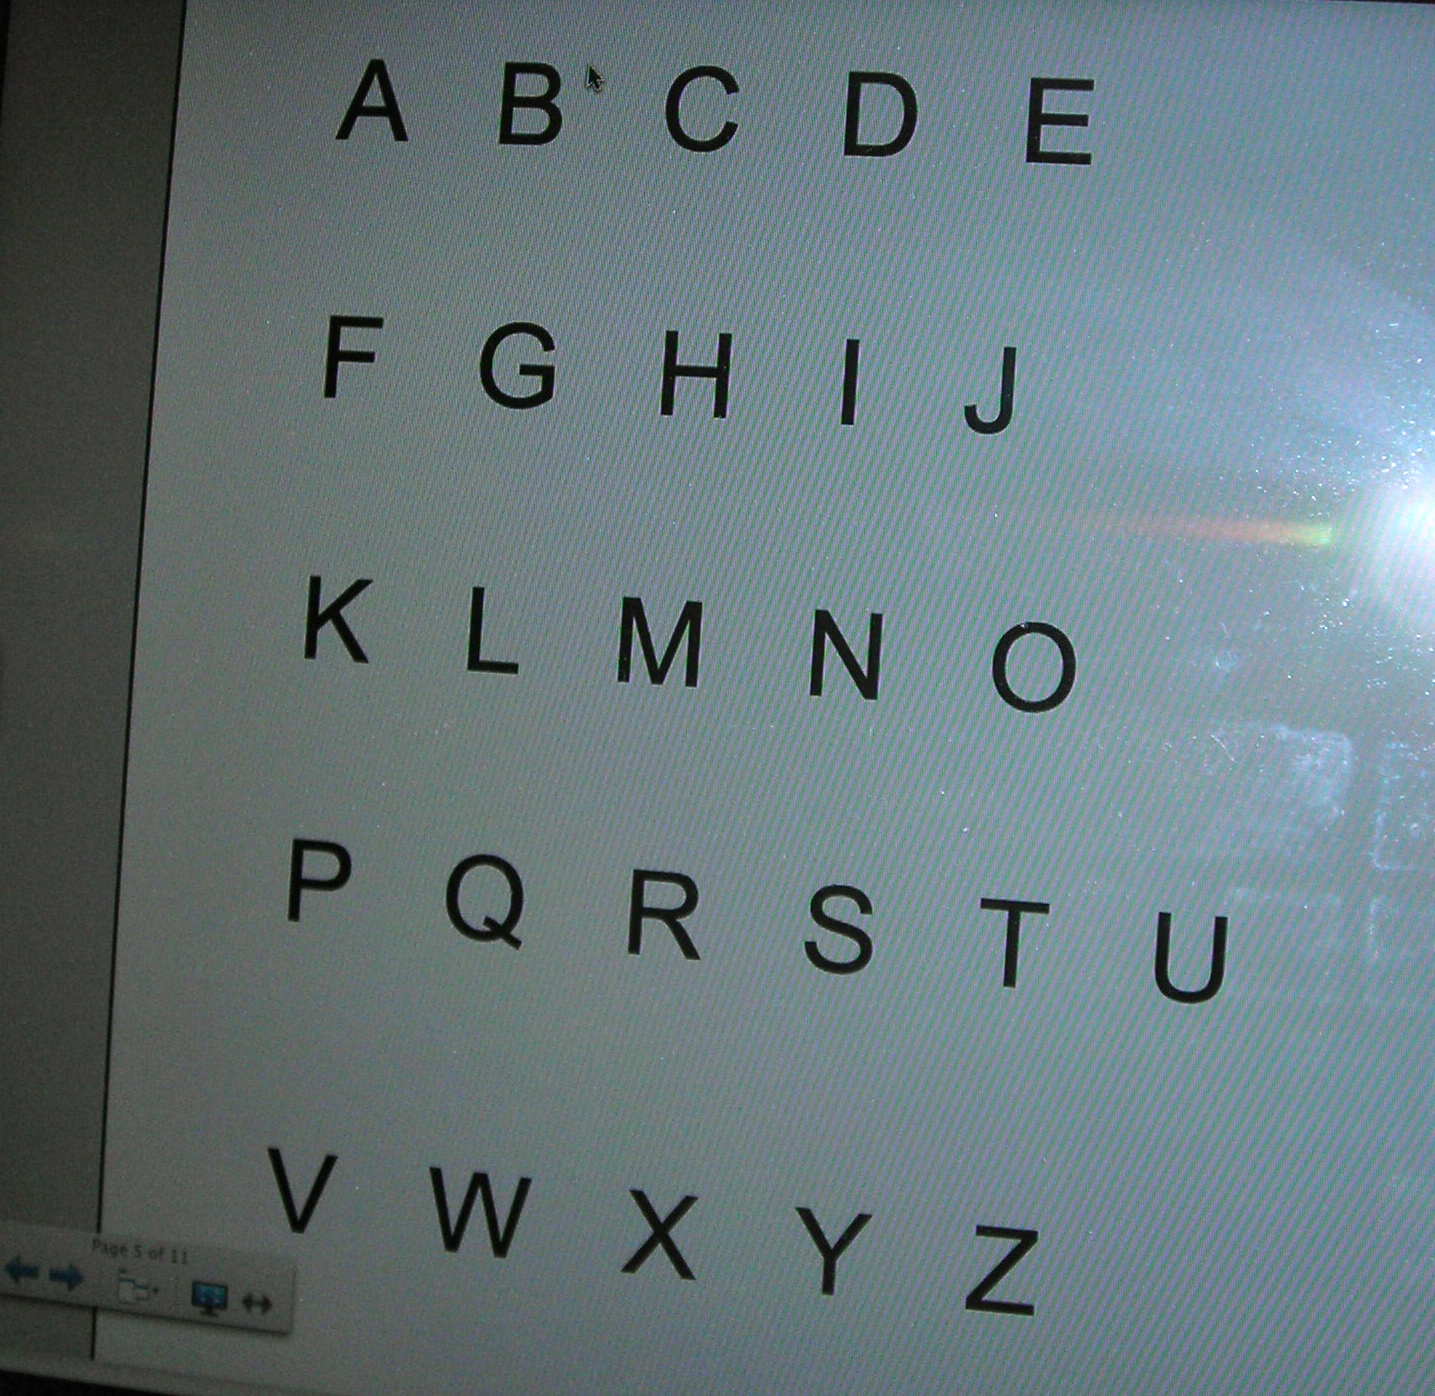
They listened to the story Mouse Paint to introduce the colors red, yellow and blue (that we would be using to paint with later in the lesson). Then, using the alphabet model on the Smartboard, made colored letters of the alphabet arranged in 5 rows.

I used a rubber band across their board to space the rows. As they finished one row, kids would slide the rubber band down to create a space for their new row. This helped with spatial arrangement.

Next I had them paint rings of plain water (like a doughnut) and drop 2 primary colors onto the ring and watch the paint spread and mix on its own.

As we are getting near the end of the year I had odds and ends paint to use. Not wanting to get out the pan watercolors, I used my SAX liquid watercolor for the blue. I didn't have any yellow or red of that left, so tried Dr. Ph Martin concentrate (which is actually a dye) because it was all Dick Blick's had when I went in. It wasn't so great for this application. Then I diluted some tube gouache I had in yellow and red. That actually worked pretty well, but the Sax liquid is much easier!!

Probably the hardest thing for kindergarteners was to remember to paint a clear water ring BEFORE dropping in the color AND remembering to wash their brush when changing colors (which was actually one of my main objectives).

Monday, May 16, 2011

The Little Things #3 - Markers

I have quite a collection of Crayola Washable Markers in my classroom and we do use them on occasion.

I actually prefer to expose students to paint, oil pastels, etc. -- all the messier media that may be harder for regular classroom teachers to use frequently.

I recently read on a blog that you can soak the insides of used washable markers to make liquid watercolors! Some other bloggers recently shared comments on Mr. E's blog here. Check out the comments -- they are interesting. I have yet to try this, but I am intrigued -- but I digress. Back to using markers in the art room.

I was pretty amazed this year at how many students did not realize that markers could be used to make thin lines when held like this:

and fat lines when held at an angle, like this:

So, when kindergarteners recently worked on a "Bold Line" project, we took the time to give them individual help in experimenting with how to make a "fat" line with one stroke of a marker as opposed to coloring back and forth to make the line.

I think it is a skill worth teaching, as the results were much better and smoother using the tool that way.
I even had one little kinder show me how he was trying to use his permanent Sharpie marker the same way the following week as he colored in windows on a building for his Stuart Davis collage city scene!! Don't you just love it when you see children applying newly learned skills in multiple settings?!!

Friday, May 13, 2011

Kindergarten Colors

     "Red and Yellow make Orange!!!" That was what one little guy exclaimed as he finished using Mod Podge to apply red and yellow tissue to his paper plate fish. By the time he had sponge painted red and yellow to make a paper plate fish scale for the large fish, he definitely had the concept down solid!! I saw both of these ideas on 2 separate blogs. Part of the project was inspired by Happily Ever After blog here. However, I have forgotten where I saw the idea for the large fish. If it was you, thank you, we loved making it!
     This small class (10 kids) of kindergarteners comes to the Art Room accompanied by their teacher, a student teacher and 2 instructional assistants to help with motor skills, etc. With all those adults I could set up 3 separate centers (2 of them outdoors on the patio) with enough supervision to help students be successful. Kids inside practiced brush skills making their small fish. One of the outside groups made circle prints on blue paper for their water, and the other group sponge painted the large fish scales.  These were very active groups -- what fun!!


Sunday, May 8, 2011

City Shapes and Sounds

I saw this lesson done with 1st graders on Artsonia (see here.) I am trying it with some variations with kindergarteners this coming week.

We will start with a Smartboard lesson viewing some of Stuart Davis' work (that I got from a Google image search). Part of that lesson includes a page where students see how to extend a line across the board to look like a street. Last week we made "bold lines" for our project and this is an extension of that concept. They will move shapes on the page to replicate city buildings. Then we'll start creating:
first, the streets:

next the buildings:

and finally, the words. (I got a traffic jam sound effect clip to add to my Smartboard lesson to motivate kids' thinking.)

Students will be creating their city as a collage.

Thursday, May 5, 2011

Bold Lines - Results

Using Sol Lewitt's "wall art" and the concept of working as a team to create a large work of art, each kindergarten class created its own VERY BOLD line by putting individual lines together (sort of like a puzzle!).  The two main skills were learning to use a marker on the diagonal slant to make a thick line and the use (and cleaning of) of a watercolor brush with one color of pan watercolors. The previous post gives the step-by-step, but here are some results:


Friday, April 29, 2011

Bold Lines

Kindergarten classes will be exploring line in their individual works and also in the cooperative group experiences of combining all their lines. I think I first saw a version of this lesson on Artsonia (see here). Then I saw how Rachel S. implemented the lesson using red for her students' bold line and knew we had to give it a try. (See Rachel's blog here.)The work is inspired by the work of Sol Lewitt. You can see a brief time-lapsed video of his work here. There are more videos and sample wall art if you Google Lewitt.

Students will begin by drawing a continuous line (that does not cross itself), beginning on one side of the board and ending on another side. They will then draw another line following the first, thus, creating a "bold" line.


The next step will be to make bright lines on either side of each line, using the same color. Following that, they will keep adding lines. I'm not sure how kindergarteners will do with markers, although I would like to teach them how to use the markers to make solid, flat lines. If that is too hard, I'll alter the medium and use something else.

When all the marker lines are drawn, students will paint their bold line with black watercolor. I want to teach the kids how to use pan watercolor and rinse the brush using just one color for now. In later projects they will be using the watercolor pans and I want them to already know how to clean the brush properly.

A final step to this project is to make black and white designs in the background areas with black marker, although I am not sure that there will be time to do this with kindergarteners. Then we will display the work, lining up the ends of all the lines and see where the line takes us!!